-
Enter the May CB750 Supply gift certificate giveaway! It's easy... Click here, post something, and you're entered into the drawing!
Search results
-
7
I made a silly mistake.
Yes, it was pretty easy, the only complicated part was mounting the fuse housing some where. I just ended up using electrical tape and wrapping it around the housing along with the solenoid. Hope this helps!!- 750_cafe
- Post #7
- Forum: The DOHC Garage (1979-1983)
-
7
I made a silly mistake.
I got one of the 30 amp automotive fuse housing and wired each end into it just for shi*s and gigs to see if it would work got the 30A automotive fuse, plugged it in and long behold it did in fact work. Everything works as it’s supposed to, maybe even a little better, and now I no longer need...- 750_cafe
- Post #5
- Forum: The DOHC Garage (1979-1983)
-
7
1980 cb 750 tuning
Thank you! I will be trying this tonight!!- 750_cafe
- Post #9
- Forum: The DOHC Garage (1979-1983)
-
7
1980 cb 750 tuning
What would the order be in that case?- 750_cafe
- Post #7
- Forum: The DOHC Garage (1979-1983)
-
7
1980 cb 750 tuning
I have it set up like this Coil 1 to cylinder 1 Coil 2 to cylinder 3 Coil 3 to cylinder 2 Coil 4 to cylinder 4 Hey brettp! Luckily as I was rebuilding this bike the coil packs and plugs were labeled with number coil, and number cylinder. Although that’s what they say I’m always gonna take it...- 750_cafe
- Post #5
- Forum: The DOHC Garage (1979-1983)
-

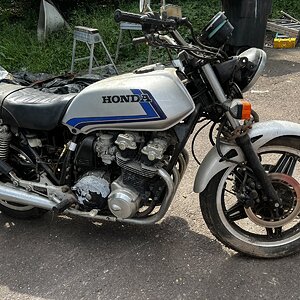
Progress of the bike
Day one to now some pictures within a week some a month (depending when I have time!- 750_cafe
- Album
- Comments: 0
-
-
-
-
-
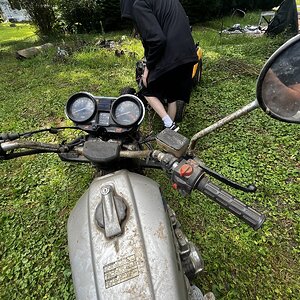
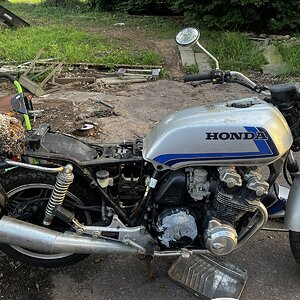
Still same day as when I first got it out
Worked till the night- 750_cafe
- Media item
- Comments: 0
- Album: Progress of the bike
-
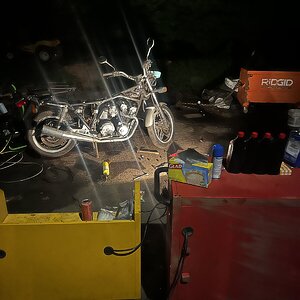
First day continuing
Brought it inside the shop for overnight work since it was raining stayed up till like 3-4 am- 750_cafe
- Media item
- Comments: 0
- Album: Progress of the bike
-
71661392351__9656F96E-6B32-4863-AD07-1EDAC30E5F1C.jpeg
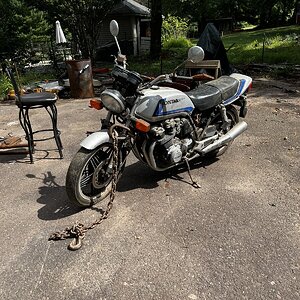
Cut the rear as I decided I want to build a cafe racer- 750_cafe
- Media item
- Comments: 0
- Album: Progress of the bike
-
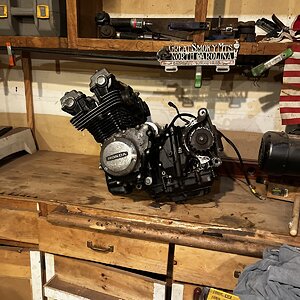
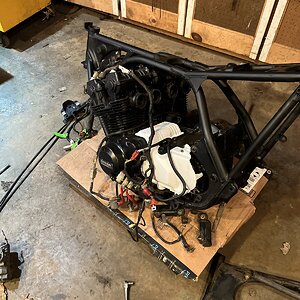
72126760121__813A98AA-A1FF-46D6-B46F-5C68B53B9133.jpeg
Decided to take the engine out to clean and make shift paint it till I have money for powder coating- 750_cafe
- Media item
- Comments: 0
- Album: Progress of the bike
-
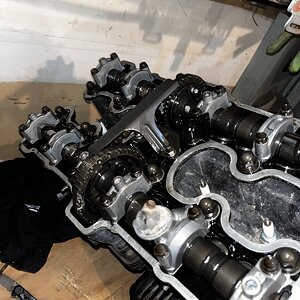
72127461234__5686A4D8-D10B-435E-9827-78027F9AD7A7.jpeg
Inspected internals everything seemed amazing- 750_cafe
- Media item
- Comments: 0
- Album: Progress of the bike
-
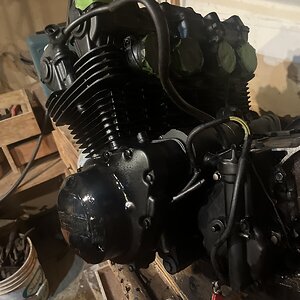
72377819686__F05DEEBE-078F-47E2-9BA8-4192205E5ED3.jpeg
Painted, not the best paint job, but enough to know what I want- 750_cafe
- Media item
- Comments: 0
- Album: Progress of the bike
-
-
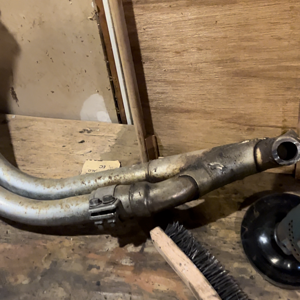
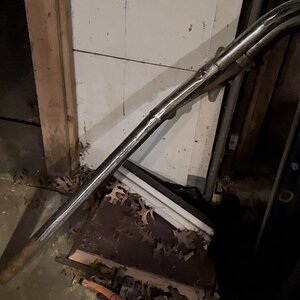
Right side headers
Cut the muffler for the pipe- 750_cafe
- Media item
- Comments: 0
- Album: Progress of the bike
-
Welded exhaust
- 750_cafe
- Media item
- Comments: 0
- Album: Progress of the bike
-
Painting exhaust
This is the second pipe- 750_cafe
- Media item
- Comments: 0
- Album: Progress of the bike
-
Painted exhaust
Here is the first pipe complete- 750_cafe
- Media item
- Comments: 0
- Album: Progress of the bike
-
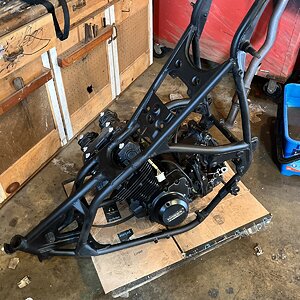
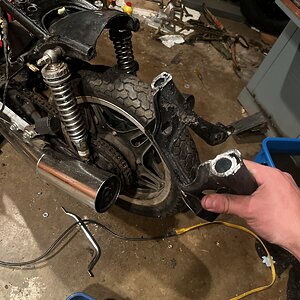
Fitting engine onto frame
- 750_cafe
- Media item
- Comments: 0
- Album: Progress of the bike
-
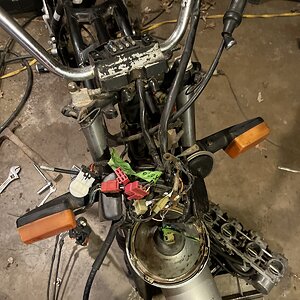
Getting wiring harness from other frame
- 750_cafe
- Media item
- Comments: 0
- Album: Progress of the bike
-
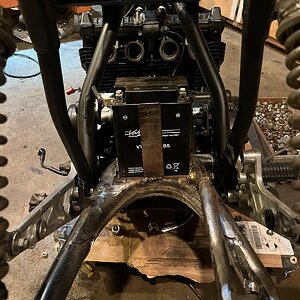
Custom battery mount
Welding isn’t great but it works- 750_cafe
- Media item
- Comments: 0
- Album: Progress of the bike
-
Another angle
- 750_cafe
- Media item
- Comments: 0
- Album: Progress of the bike
-
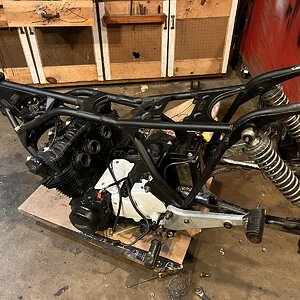
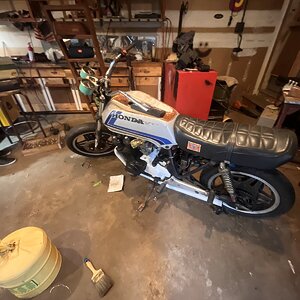
Put stuff back on to image it
- 750_cafe
- Media item
- Comments: 0
- Album: Progress of the bike
-
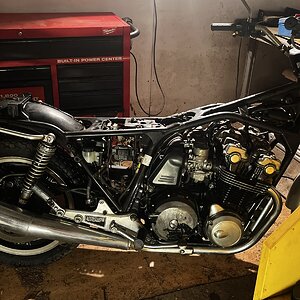
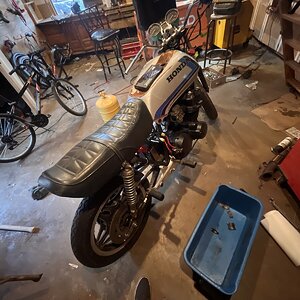
put stuff back on to image it pt:2
This is its standing as of right now- 750_cafe
- Media item
- Comments: 0
- Album: Progress of the bike
-
7
Reinstalling spark units (ignition coils)
Left Coil (1) to cylinder #1 Left Coil (2) to cylinder #3 Basically the two outside cylinders Right Coil (3) to cylinder #2 Right Coil (4) to cylinder #4 Two inside cylinders- 750_cafe
- Post #2
- Forum: The DOHC Garage (1979-1983)